


Pages

Showing posts with label sewing. Show all posts

Wednesday, July 6, 2011

Dish Towel and Recipe Holder


Some of you may remember my first giveaway here at the blog. I made a set of dish towels and recipe holder. This little idea is quickly becoming my favorite gift for wedding showers!! I decided to share with all of you how I made them.


For the towels I buy two flour sack dish towels from the dollar store. I like to spruce them up, so I add a ruffle to the bottom. I don't know how to do ruffles the "right" way. I always pull to hard on the thread and end up breaking it. My way of ruffles is more like pleating.

I found the cutest and smartest idea on Sassy Sanctuaries blog. She made dish towel belts that keep your towels from falling on the floor. GENIUS! I followed her instructions on how to make them. The fun part of these is adding the extras to the top. The ones I did for the giveaway had a ruffle and buttons. The one I did for my Sissy had just buttons.


The last part is the recipe holder. There are tons of darling ideas for these all over blog land. My idea is pretty darn easy though. I take a  5x7 picture frame and add stickers to the bottom. I found at Lowe's pre-cut 5x7 metal squares by the roofing material. I had to trim them down just a hair to fit in the frame. I also made some rosette magnets with scraps. I saw this idea over at Envirocraftiness. Again such a GENIUS idea!!

I still have yet to make me a set of these. I really think this is such a fun little gift though! I also think it would be great as a gift when someone buys a new house.

I'm linking this to I Heart Nap Time, The Tattered Tag, Sumo's Sweet Stuff, Keeping It Simple, Crafty Confessions, Sugar Bee Crafts, Night Owl Crafting, What Allie Makes, and  Sassy Sites

Monday, May 23, 2011

Wedding Accessories

My Sissy got married two weeks ago. She has a brand new nephew on her husbands side. I suggested that I would make him a tie onesie like the one Char at Crap I've Made has a tutorial on. My friend Aubrey made one for our friends baby shower that turned out darling! I've been wanting to try one for a long time and thought this would be a perfect project. I followed Chars instructions and printed out her template for the pattern. I have now used Heat and Bond on two projects and have decided that I don't like it. I will be buying Wonder Under next time I have an applique project. This project was super easy and I was pleasantly surprised with how cute it turned out! My Sissy's new Sis in law loved the onesie and her little baby boy looked so handsome in it!


My Sisters wedding colors were pink and brown. Her Sis in law asked that since he was a brand new baby boy, to stick with a fabric that didn't have pink. (She didn't want him to get confused for a little girl.) My silly sister forgot that request and picked up some fabric that was brown with pink polka dots. I told her we could still use it and I could make the little girls some hair flowers. I stumbled onto a blog I hadn't seen before called Fabric Bows and More. This blog is one of my new favorites! I found a darling bow tutorial from Cute As A Fox that was done with ribbon. I knew I could make  that one work.


I started by making a fabric rosette. Once the rosette was done I followed the tutorial from Cute As A Fox. I did mine slightly different since I was putting the rosette in the middle. When I had my strand gathered I formed it into a circle and hot glued it together so it would hold the circle shape. I then took the circle and hot glued it to the bottom of the rosette. I needed something for the middle so I went to my bead stash and found some light pink beads. I threaded the beads onto some wire and formed a circle. Then I hot glued the beads to the middle of the rosette. The last thing I did was take some felt and made two circles. I hot glued one to the bottom. I then took my alligator clip and hot glued it onto the felt with the clasp open. I took the last piece of felt and slipped it inside the clasp then glued it down. I was super pleased with these little flowers. They looked darling in the little girls hair! MnM LOVED hers!

I'm linking this to I Heart Nap Time, Keeping It Simple, Sugar Bee Crafts, Night Owl Crafting, Lil Luna,  Blue Cricket Design, House of Hepworths, Sassy Sites, Making It With Allie, Wildflowers and Whimsy, and The Tattered Tag.

Tuesday, April 26, 2011

Apron and Superhero Cape

The kiddos loved their homemade Valentines so much that I decided to make something for them for Easter. I was really bummed that I didn't do the February "Create With Me" craft. I decided to do that but in a smaller version for MnM. I did the front piece a little big because I wanted it to cover her clothes really well. It's not totally finished I still have a pocket to put on the front.

 For little SMac I remembered seeing a super cute idea over at I Am Momma Hear Me Roar. I used the same tutorial she did for all of it but the neck part. I found a tutorial online that had an easier one. I was going to do his reversible but, due to me being a procrastinator, he ended up with a one sided cape. I have all the supplies though for a Superman so I'm sure he'll end up with one eventually. Oh and I must say that Old Mac was super proud of my free handing Batman symbol skills.

I got all the fabric at Wally World and spent a total of $9. Both kiddos loved their little things. MnM was super excited that she no longer has to use one of Mommy's old shirts as cover up. Little SMac doesn't need to use a blanket as a cape anymore either. I was super happy with how cute both of them turned out!

I'm linking this to I Heart Nap Time, Keeping it Simple, Craft O Maniac, Night Owl Crafting, Not Just a Housewife, Sugar Bee Crafts, Lil' Luna, Tatertots and Jello, Making it with Allie, Wildflowers and Whimsy, and The Tattered Tag.

Wednesday, March 16, 2011

Spring Cleaning Apron

I decided to link up my spring cleaning apron to The CSI Project "Spring" challenge. Do you wish you had a super cute apron like this to clean in? Don't forget to enter my giveaway for the Spring Fling on March 25 and it could be yours! I got the inspiration for this little cutie from the amazingly talented Larissa at Just Another Day In Paradise. 

Visit thecsiproject.com

Monday, February 14, 2011

HOOO Loves You

Happy Valentine's Day everyone!!

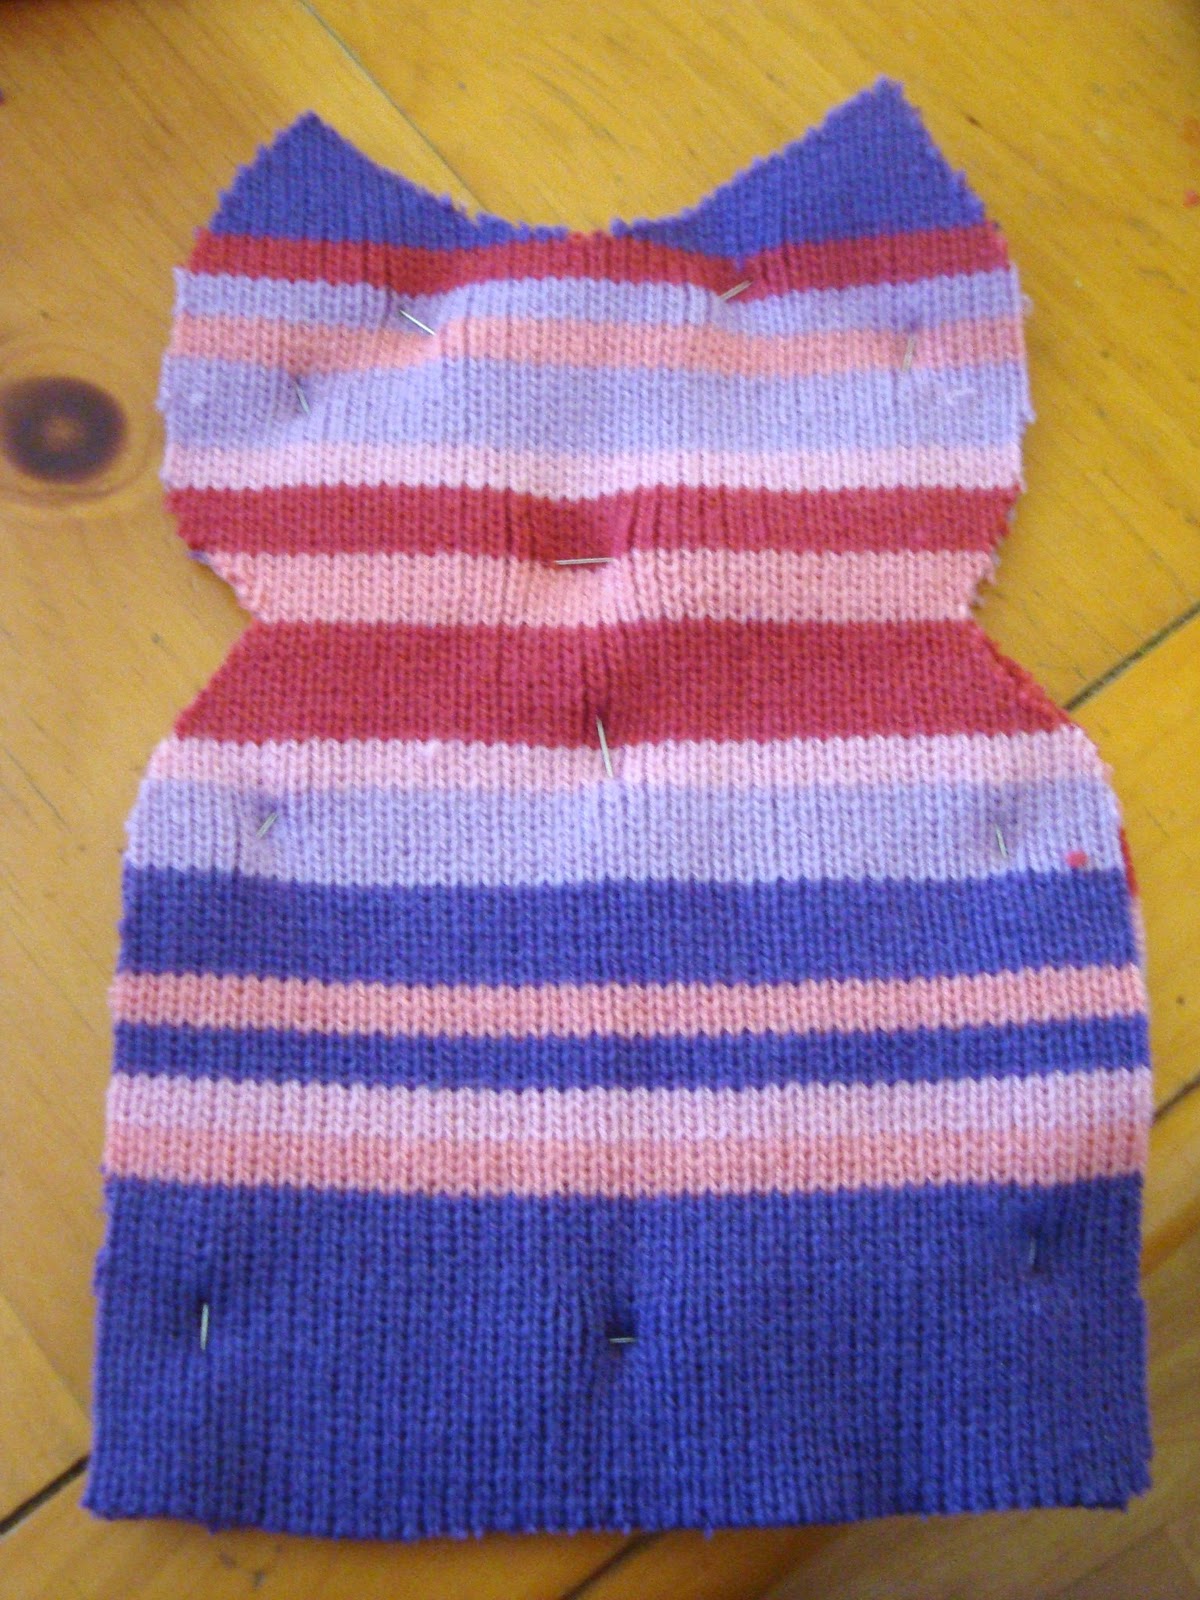
Old Mac gets the kids a stuffed animal every year for Valentine's . Owls seem to be HUGE right now so I decided to see if I could make one. I told Old Mac that if he couldn't tell what it was when done he could go get them an animal from the store. Tee Hee.

I had an adorable owl done by Ashley at Make it and Love it saved in my "to do" folder. It didn't look too difficult so that was the one I decided to try. I followed all the steps on her tutorial and it was actually super easy! I don't know all the proper lingo for sewing and would probably have you totally lost in a matter of minutes. Thanks to Ashley you can just follow her awesome steps!! She even has a great one for hand stitching in case you need help with that too.


This little project only took me a few hours yesterday to work on. I already had the old scarfs stashed away. I also had a few felt scraps but not enough. I went to Dollar Store over the weekend and discovered they had a stack of felt. The colors were limited but I knew they would work. I could have gone to the craft store and bought the sheets there, but this gives me lots of extras for future projects. I hand stitched the wings and nose on but hot glued the eyes.

This little project turned out super cute and Old Mac knew what it was supposed to be. I only spent a grand total of $1 for this little craft! The kiddos will be getting them for Valentine's Day later today!!

I'm linking this to Allie Makes, Wildflowers and Whimsy, I heart nap time, Sumo's Sweet Stuff, Keeping it Simple, Sugar Bee, Craft O Maniac, Not Just a Housewife, Sassy Sites, Sister's Stuff, Blue Cricket, Saturday Mornings, Tatertos and Jello, House of Hepworths, and Night Owl Crafting.

Sunday, January 30, 2011

Sweater Shirt Refashion


This was yet another little girl refashion from Make It and Love It. I had a sweater vest, shirt thing, that my sister Missy passed down to me. It wasn't fitting right anymore so I adjusted it down for MnM. I took in the sides and shortened the bottom. Once that was done I added the ruffle flower. This one was one of the easier re-fashions compared to the skirts. I'm super happy with how this one turned out also. Oh and yes the diva LOVES it.

Saturday, January 15, 2011

Tooth Bag


The boringish before


The way more better after
 About a year ago MnM's teeth started to get super loose. I decided to start looking on the web for a pillow or bag, something that she could put her teeth in for the tooth fairy. I found the perfect thing at The Purl Bee. The bag looked super easy to make but was all hand sewn. Since I don't know how to sew, let alone hand sew, I went to the Make It and Love It website. Sure enough there was hand sewing tips on there that helped with my dilemma. When I had the bag finished MnM said, "Mom that is way to boringish". Off to the craft tote we went and found some buttons and puff paints to make it "non boringish". The bag was finished just in time for the tooth fairy to make her first visit.

Fish Fingers and Penguins

I did some fun theme weeks with the kiddos this summer. One week that we had was fish week. We had fun doing different crafts throughout the week. We made fish finger puppets. I got some of the ideas for the bodies on etsy. I took felt and cut out shapes of fish and then sewed them together. Aunt Miss came over and helped MnM with the puff paints. I think they turned out adorable if I do say so myself.

We also made the look and see bags found on Make It and Love It. Those bags have been awesome for little SMac at church. I found a bead kit at Michael's that had lots of fun things that were perfect colors for boys and girls. I also picked up some erasers toppers that worked perfect in the bags too. My only complaint about the ones I did was I used sand instead of the filler the Make It and Love It ones had. The sand was harder to work with when sewing. It has also changed colors since I sewed them this summer. It was one of those "use what you got" moments. The kids love them so I guess that's all that counts.

I also found another fun craft idea at Family Fun. If you haven't found this site yet and have children it's a MUST. They have awesome crafts and ideas that are easy, inexpensive and designed just for kids. We made the pipe cleaner penguins. The instructions were super easy and before you know it we had a penguin family. MnM liked doing the craft and little SMac liked destroying playing with them.

Friday, January 14, 2011

Little girl re-fashion2

Another Make It and Love It idea that I had to do was taking an old skirt of mine and making it into a skirt for MnM. If you read my last re-fashion post then you know my issues I have with sewing. This one was pretty easy (even for me) to follow. I had to put in an elastic waist and shorten the length to fit little diva.

It turned out way better than I was expecting! I get nervous still every time I sew so when something turns out it's a happy day on the crazy farm. Pro sewers would for sure see the errors right off the bat but again I was pretty proud of myself. I actually took the skirt out to the man cave (aka C Mac's second home aka the garage) to show him my completed project. C Mac gave me a high five. You know you've done something cool when you get a high five from C Mac. MnM was so excited when I showed her the skirt. She had to wear it to church that next Sunday. Is it lame if I (months later) pat myself on the back?? Again?? LOL

Little girl re-fashion

Don't mind the unevenness or how it's leaning to the right.
I promise it looks a lot better in person.
One of my "goals" in life is sewing. I didn't pay attention too well I guess in Junior High and can barely sew a straight line. I'm a big fan of Make It and Love It. She is so amazingly talented. I decided after finding her blog that I needed to steal borrow for a long time my Mom in laws machine that she wasn't even using and has barely noticed is missing. I have a folder on my computer that is stuffed with things I am one day in the near future going to get to.

One of the first things I did was take two shirts of mine and make them into a skirt for MnM. It's very beginner and if you look close you can totally tell where I messed up. Since the machine wasn't mine, and I don't know how to sew, I had to look online to figure out how to thread the bobbin and the machine. I know very pathetic but thank you technology! Thanks to my amazing Sis in law C Myree too who walked me through the steps over the phone when I couldn't figure out the video!!  
I was sure proud of myself when I finished and have loved that MnM asks to wear it. MnM is a bit of a diva when it comes to her clothing so getting a stamp of approval is big actually HUGE.